#20 Idea visualisation (Prototyping)
⏱ Everything from a few hours to a day or even weeks
𐀪 4-6 people
❔ Most educational institutions or start-up environments have facilities and competencies within the area of idea visualisation and prototyping.
background
When the team has chosen their solution to their innovation challenge, a need might occur to visualise the solution in a physical form – a prototype. in the fourth and fifth phases of the design thinking model, the exercise is to produce several low-tech, low-cost prototypes to visualise the product / solution. The production of a prototype is a demanding, collaborative exercise for the team, because the development of prototypes requires both creativity, technical knowledge and craftsmanship. It is an experimental phase where the team develops and tests a prototype to identify the best ideas / solutions to the challenge.
Prototype testing gives a better understanding of how real users and potential target groups will think, feel and act in interaction with the potential product.
purpose
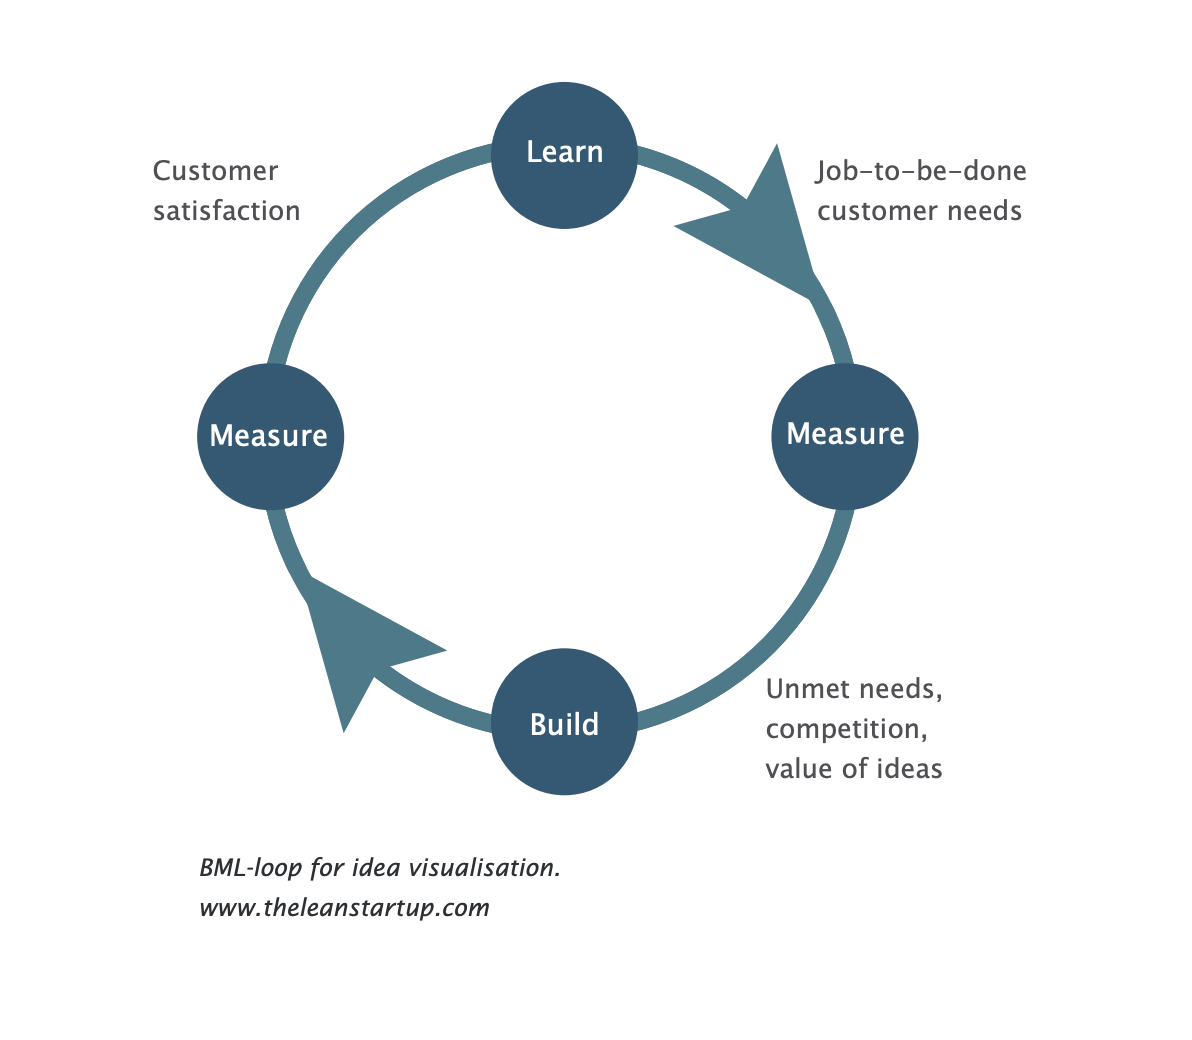
The purpose of producing prototypes is to qualify the team’s brainstorm process. The process of idea visualisation and the preparation of prototypes add power to the team. The BML loop, which everyone with an idea for a solution to a challenge goes through, is made more efficient and valuable with a visualisation or prototype.
The exercise endorses the team and individual team members’ competencies to visualise ideas in a physical, virtual or digital way. Furthermore, it increases the team’s ability to move forward in the collaborative process while it allows for progress in the task solution. The team can use the results of the development and test to make a visual presentation as a solution to the innovation challenge.
procedure
The team is expected to acquire knowledge and skills in idea visualisation, development and testing of prototypes or get the skills from a makerslab or a lecturer, who is responsible for teaching idea visualisation, development and testing of prototypes.
In EiT, the procedure is the following:
• Introduction and background for idea visualisation, understanding the purpose of prototyping and building in metaphors, sketching and cardboard
• Introduction to design and materials and for example digital tools
• Introduction to 3D and building in 3D
• Presentation and evaluation of the idea visualisation and the prototype, for example posters, from a template (pdf included under references).
practical matters
It is beneficial to have access to a fab lab, makers lab, workshop or similar place with access to different materials, 3D printing, carving etc. If this is not available, then make sure to have pencils, clay, post-it notes, scissors, tape, glue, cardboard, etc.
further information
It is recommended that you seek inspiration at the following link:
www.servicedesigntools.org and download the pdf file: ”Quick Prototypes” at www.innovation.sites.ku.dk.
example